

Customer invoices are a very important aspect of any business due to the fact that they help you get compensated for the product or service that you offer. When you’re using Odoo, a great business management software, you get handy features from the Odoo Invoices Accounting module making it easy for you to send invoices. Starting from configuration and up to generating invoices, the customer invoice function in Odoo simplifies an otherwise complex procedure. This blog article will take you through every required facet of customer invoices in Odoo Accounting, in this case, its latest version. You will be able to quickly set up, create, and manage invoices, and take measures to improve the cash flow of your small business by the time you are done.
Customer Invoice Setup in Odoo Accounting
Before you begin developing or utilizing Odoo invoices in Odoo Accounting, it is best to ensure that all things are properly configured. It is easy to configure, even for small enterprises.
Step 1: Installation of the Accounting Module
- Begin by proceeding to the Apps area of Odoo.
- Find the Accounting module and install it.
- If you are using Odoo’s current version, then this module already includes special tools for invoicing, tracking expenses, and accounting operations.
Step 2: Configure Your Company Details
Correct company information is required for making professional and compliant invoices.
Follow these steps:
- Go to the Settings menu within the Accounting category.
- Add your business name, logo, address, and contact information. This will appear on all outgoing invoices on its own, giving them a professional appearance.
Step 3: Determine Payment Terms and Methods
Odoo allows you to modify payment terms (such as “Net 30” or “Due on Receipt”) to suit your billing cycle.
- This is how: Navigate to Configuration > Payment Terms. Use words that are most appropriate for your business.
- Also, link payment methods such as credit card processing, online payment gateways (such as Stripe or PayPal), or standard bank methods for making payments.
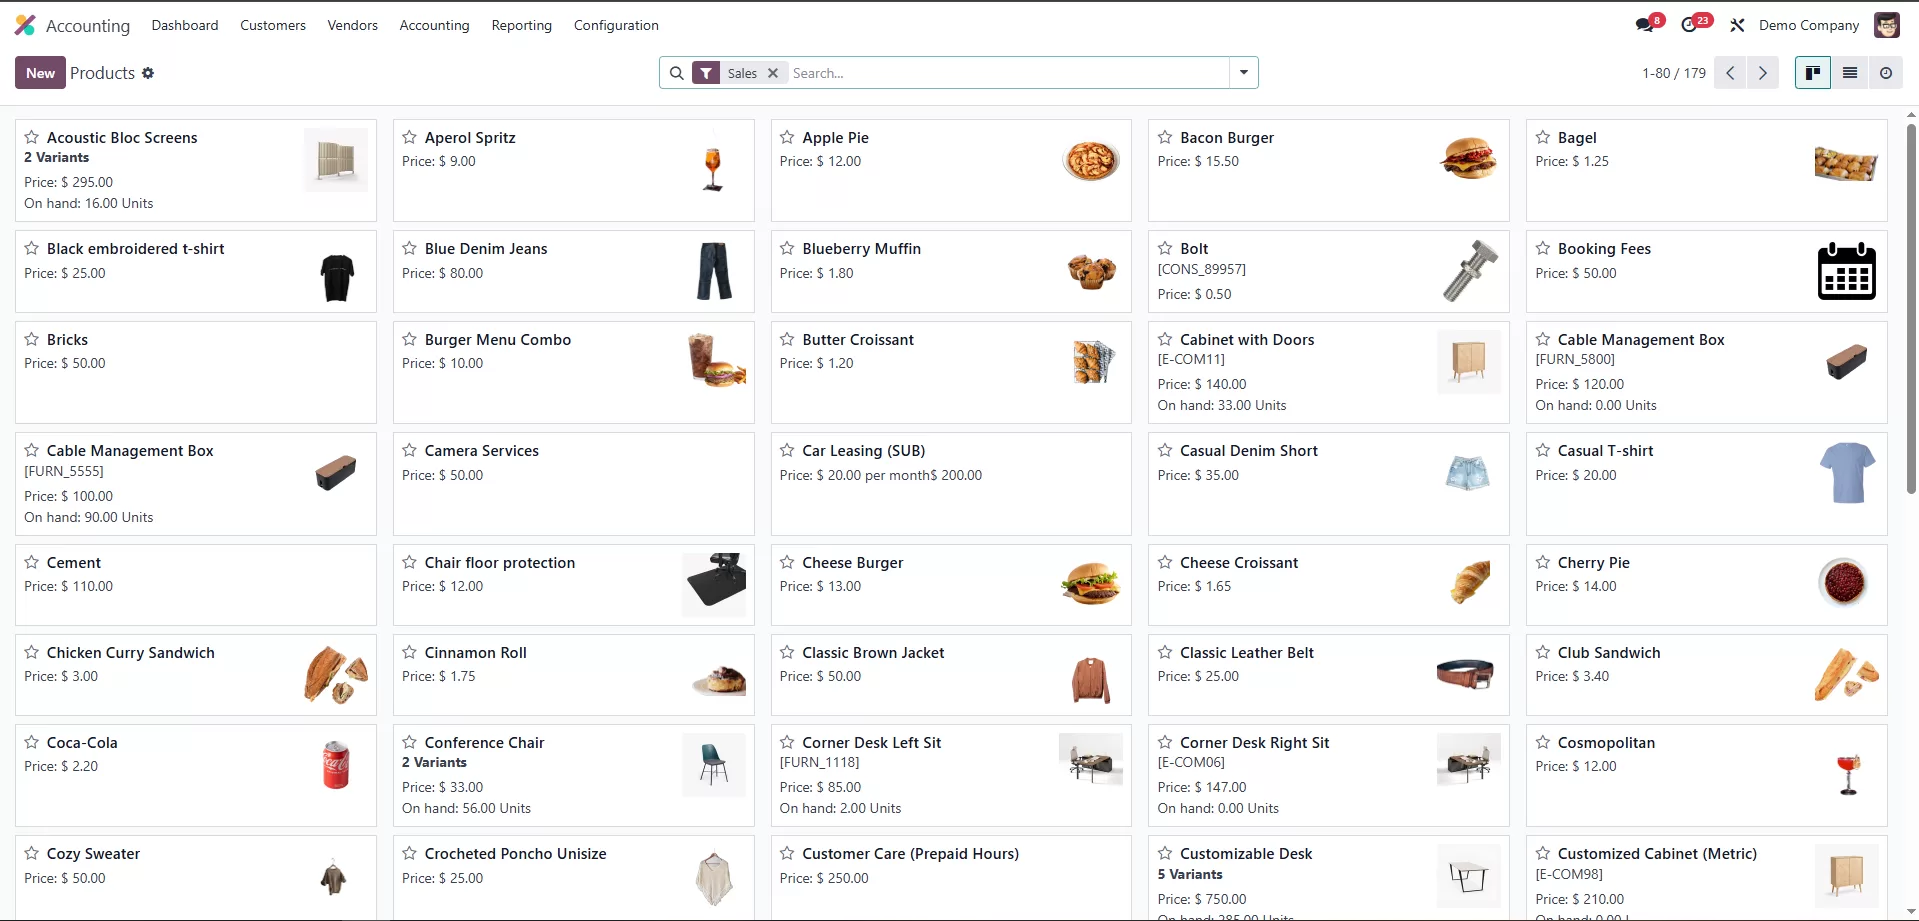
Step 4: Add Your Products or Services
- To invoice, place your list of products or services in Odoo Invoices.
- Just go to the Sales or Inventory module and create items, like descriptions, price per unit, and taxes.
- These will automatically be linked with the invoicing module.
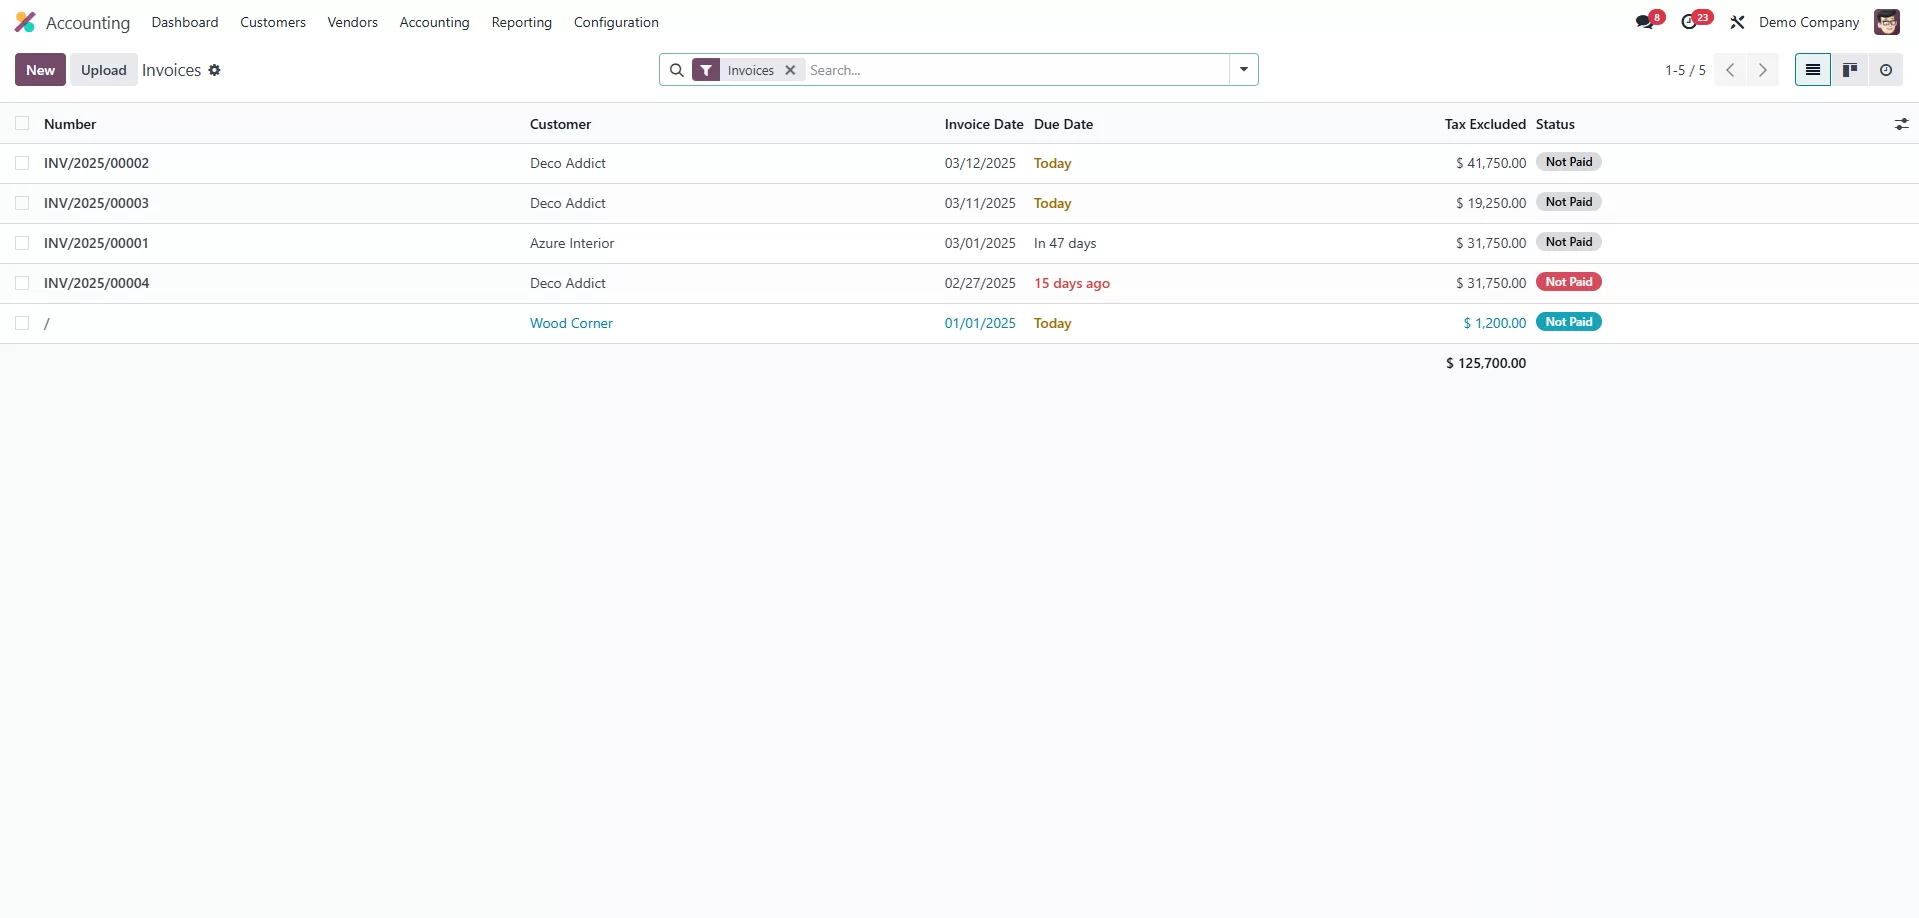
How to generate a customer invoice
Proceed to the Dashboard.
Make a New Invoice
Confirm and Save the Invoice
Verify the data for accuracy. Save the invoice when it's done.
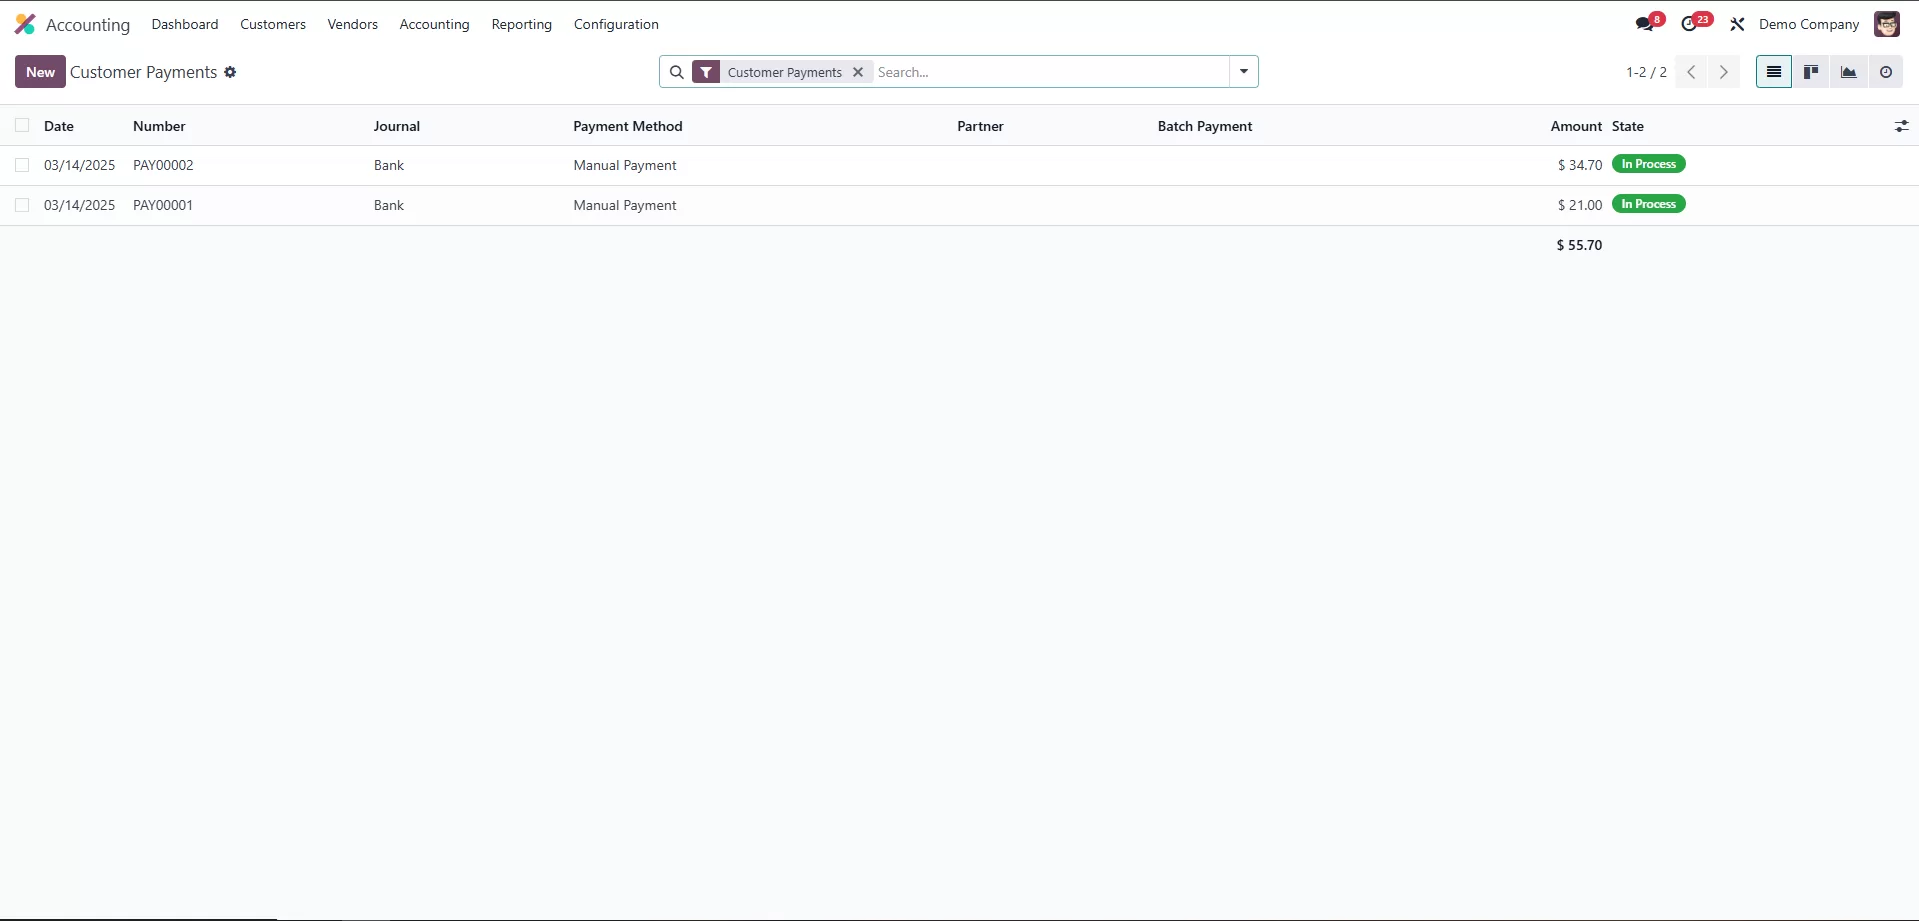
Payment Tracking
Adding Tasting Notes to Invoice (Custom Fields)
Be in Command of Your Billing with Odoo
Odoo Invoice customers does not have to be cumbersome. Odoo has simplified it for you, providing you with an easy-to-implement and scalable system with the functionality of expanding businesses. By implementing your invoices the correct way and leveraging useful features like payment monitoring, automatic reminders, and recurring invoicing, you will dedicate less time to invoices and more to expanding your business.
If you wish to simplify your accounting, today is the day. Do you need assistance getting Odoo up and running for your small business? Call us today to schedule an appointment, and we will assist you in getting your perfect invoicing solution operational.
