


Successful delivery is essential to any company that is dealing with physical products. With the latest release of Odoo Inventory, you enjoy the advantage of a solid platform on which to work and craft your Odoo delivery Management process. One of the greatest features is the ability to design delivery processes that are tailored to your business’s particular requirements.
If you are an Odoo user, have an inventory, or run a business and need to optimize logistics, this blog will guide you through how to configure delivery modes in Odoo Inventory. We will discuss how to configure delivery modes, price rules, and shipping provider integration.
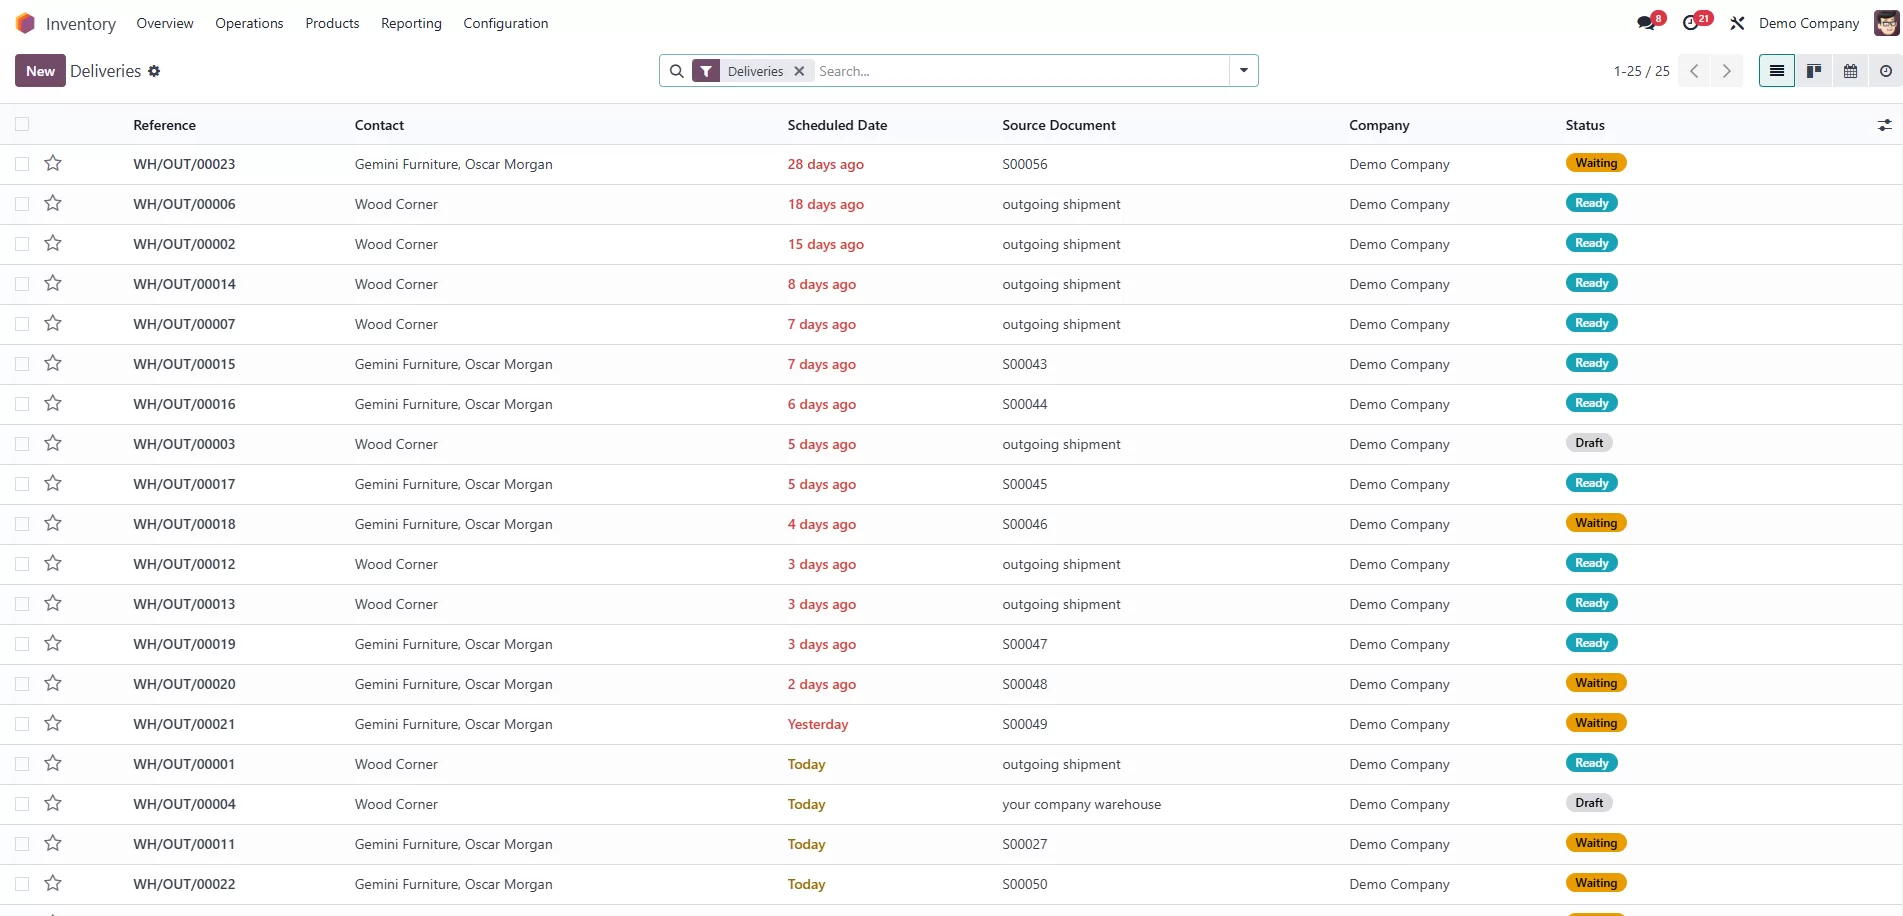
Step 1: Setting up Delivery Channels in Odoo Inventory
The first thing you should do in order to manage deliveries correctly is to configure delivery methods in Odoo Inventory. Delivery methods determine how the orders are delivered to your customers—this could be regular ground shipping, quicker alternatives, or in-store pickup. Here’s how to go about it:
1. Turn on the Delivery Methods Feature
Before you go ahead to create delivery channels, you need to ensure that the feature is activated in your Odoo Inventory module. To activate it, follow the following steps:
- Proceed to Settings under the Inventory category.
- See below to the “Shipping” section.
- Click the box labeled “Delivery Methods.”
- Click Save to save the changes.
- Once the process is initiated, you can establish and run delivery channels.
2. Develop Delivery Mechanisms
After the feature has been activated:
- Navigate to Inventory, then Configuration, and finally Delivery Methods.
- Press the Create button to create a new delivery method.
- Kindly supply the following details:
1. Delivery Method Name (for example, Standard Ground Shipping or Local Pickup).
2. Provider Type (Odoo has affiliations with providers such as UPS, FedEx, and DHL. If you wish to conduct your own shipping, select Fixed Price or Based on Rules here).
3. Enter the Product associated with the delivery fee (if applicable).
4. Save the settings, and your delivery method will then be available as an option when you’re shipping orders.
Step 2: Creating Price Rules for Delivery Vehicles
One of the key advantages of Odoo is that it is able to classify delivery charges by creating price rules. Prices can be adjusted according to the order size, weight, or destination. The following is how to create price rules for delivery modes:
1. Open Your Delivery Method
Go to the delivery method that you’ve now designed, or to whatever delivery method you wish to modify.
2. Describe Price Rules
Under the Pricing category:
- Click Add a Line to enter your rules.
- Fill out the following fields:
- Minimum weight / Maximum weight or value ranges are employed to establish rules.
- Delivery Cost that will be charged according to those conditions.
- For instance:
Shipping orders that weigh between 0 and 5 pounds may be $5.
You can also have free shipping on orders of $100 or more by setting the Delivery Cost to $0 in that rule.
3. Save Your Changes
Once you have properly configured the price rules, click on the Save button. Odoo will apply these rules automatically when you check out or create a quotation.
Step 3: Collaboration with Shipping Companies
If your company uses delivery services like UPS, FedEx, or DHL, Odoo has tools to help make shipping easier. Here is how you can add a delivery company to your Odoo system:

1. Install the Shipping Connector Module
- Proceed to the Apps menu of Odoo.
- Locate the connector application for your preferred shipping carrier (e.g., FedEx, UPS).
- Click the Install button to install the application.
2. Set Carrier Credentials
- Go to Inventory, then Configuration, and select Delivery Methods.
- Open or create a delivery option from the selected provider.
- In the “Provider” field, choose your carrier (e.g., UPS, FedEx, DHL).
- Provide your carrier account login credentials (available through your current carrier account).
- Modify additional settings such as the carrier services (economy, overnight, standard) to accommodate your shipping choices.
3. Verify the Connection
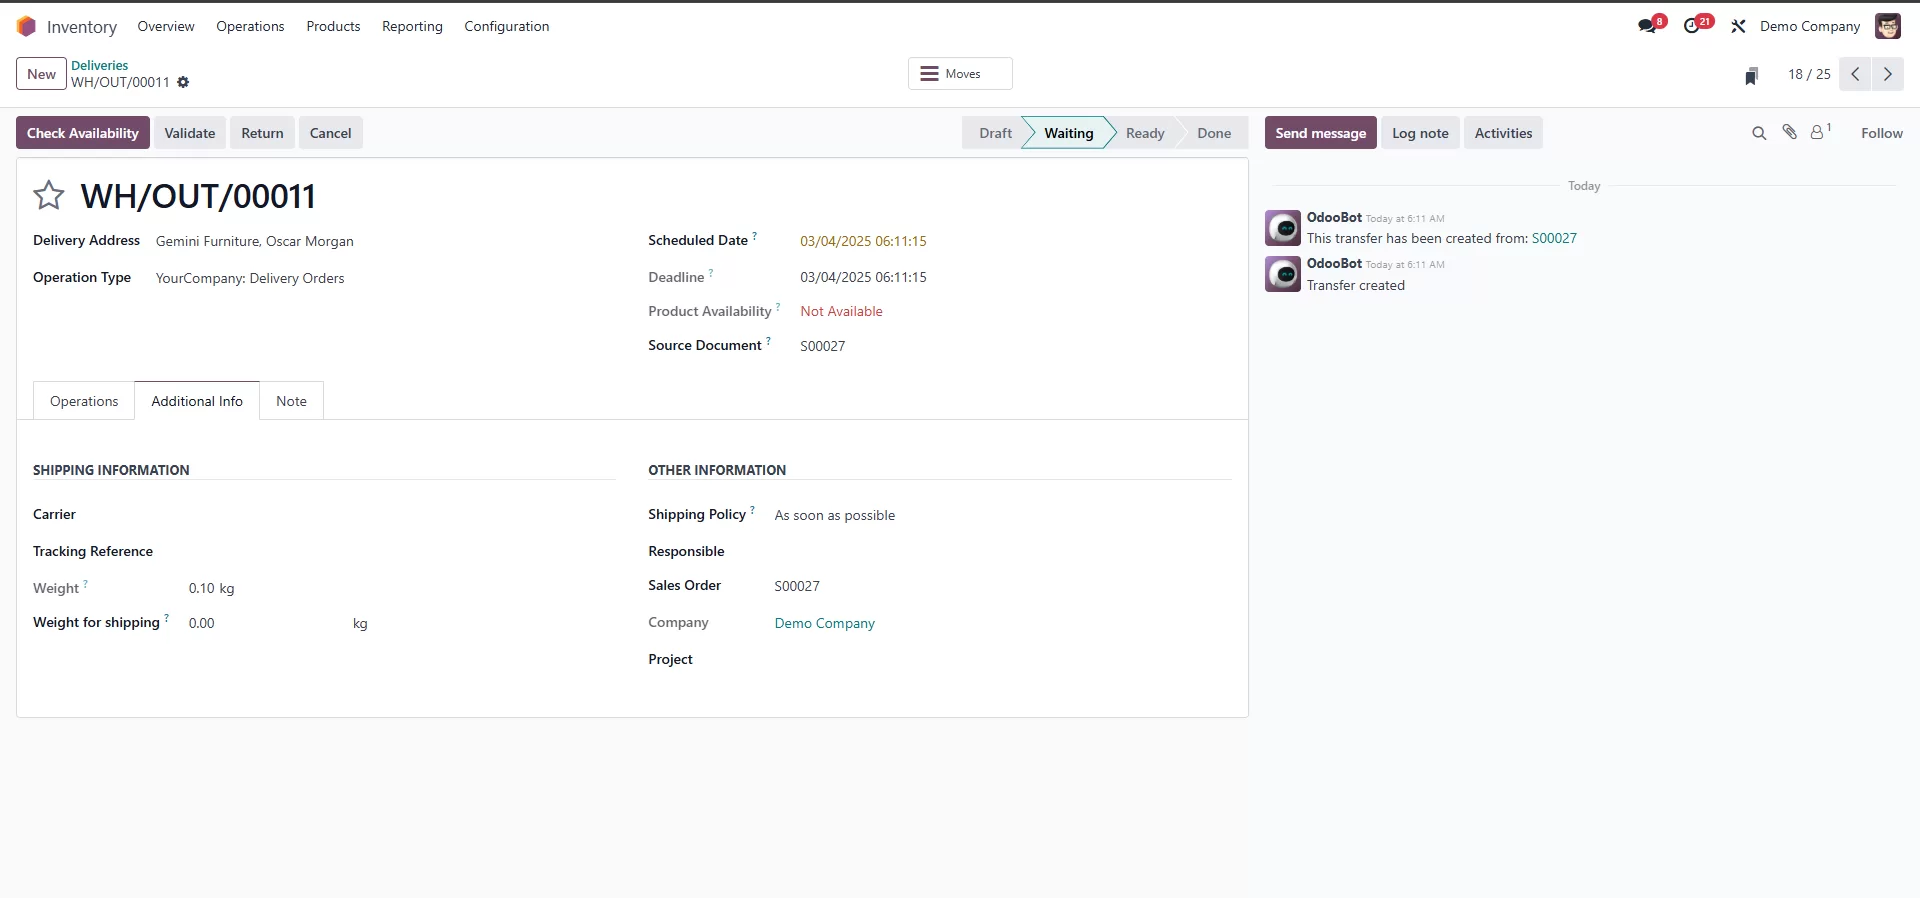
Once you have everything configured, try it out by creating a Sales Order:
- Choose the combined delivery option.
- After the availability is assured, Odoo will determine shipping prices based on the carrier’s API.
- This enables you to retrieve shipping rates in real time and print shipping labels right in Odoo.
With this guide, you can now add delivery channels to Odoo Inventory with ease, define price rules, and add shipping carriers. Interested in learning more about optimizing your inventory operations?
Sign up for a free Odoo Consultation today and discover how this great platform can transform your company logistics for the better.

