


We are thrilled to introduce our new Odoo CRM Chrome Extension. This powerful tool allows you to easily save leads directly into your Odoo CRM with just a few clicks.
Whether you’re capturing leads from your site or external sources, this extension simplifies the process. In this blog, I will guide you through a simple two-step procedure for installing your extension and saving leads into your Odoo CRM within minutes!
Step 1: Connection of Extension with Odoo CRM
To activate using our Odoo CRM Chrome Extension, you will have to configure extension settings in such a manner that the extension will be linked with your Odoo account. Follow these steps:
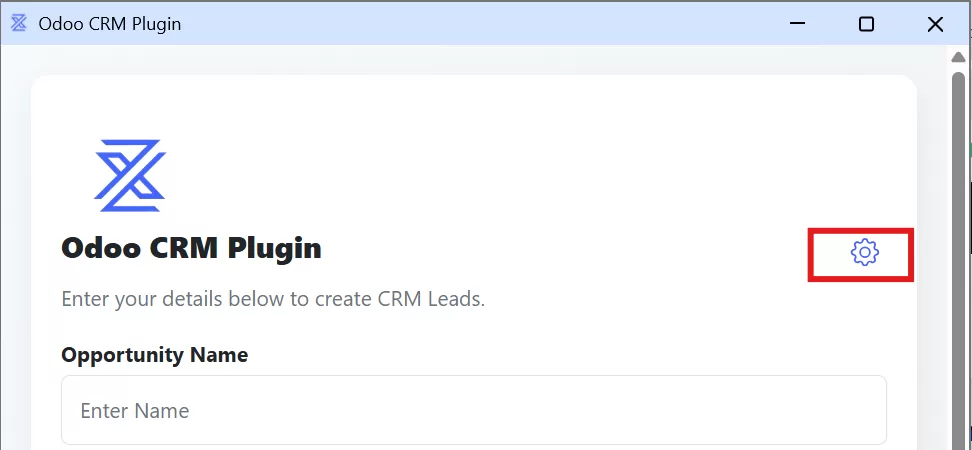
Locate the Settings icon in the top-right corner of the extension. When you click on it, you will get a form where you need to provide your Odoo account details.
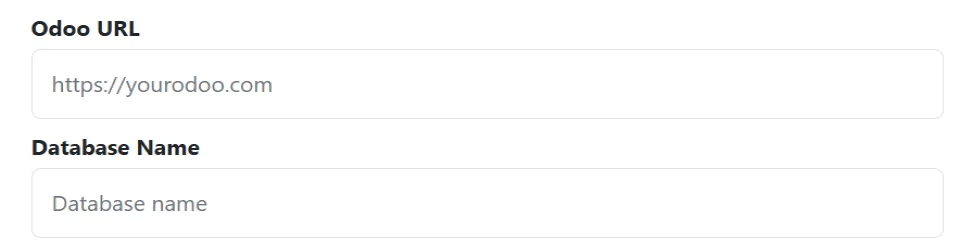
Enter your Odoo URL. The Odoo URL is the web address of your Odoo instance. It will usually be something like https://<your-company>.odoo.com.
If you are hosting on Odoo Cloud, it will be the same URL you use to access your Odoo dashboard. It can be something like: https://<your-odoo-instance>.odoo.com.
If you are on a self-hosted setup, the Odoo URL will be the server domain name or IP address on which Odoo is installed (e.g., https://<your-company-name>.com or http://<IP-address>).
- Note!
- If even then you can't find your Odoo URL, you can refer your Odoo administrator.
Type in your Database Name. Your database name of your Odoo CRM is your Odoo instance name. To find your database name, log into your Odoo account.
On the login page, click on the “Manage Databases” link given at the bottom. A list of available databases will be displayed. The database name you should use is the one associated with your Odoo account.
Alternatively, you can find your database name by first logging into your Odoo account and navigating to the Settings menu.
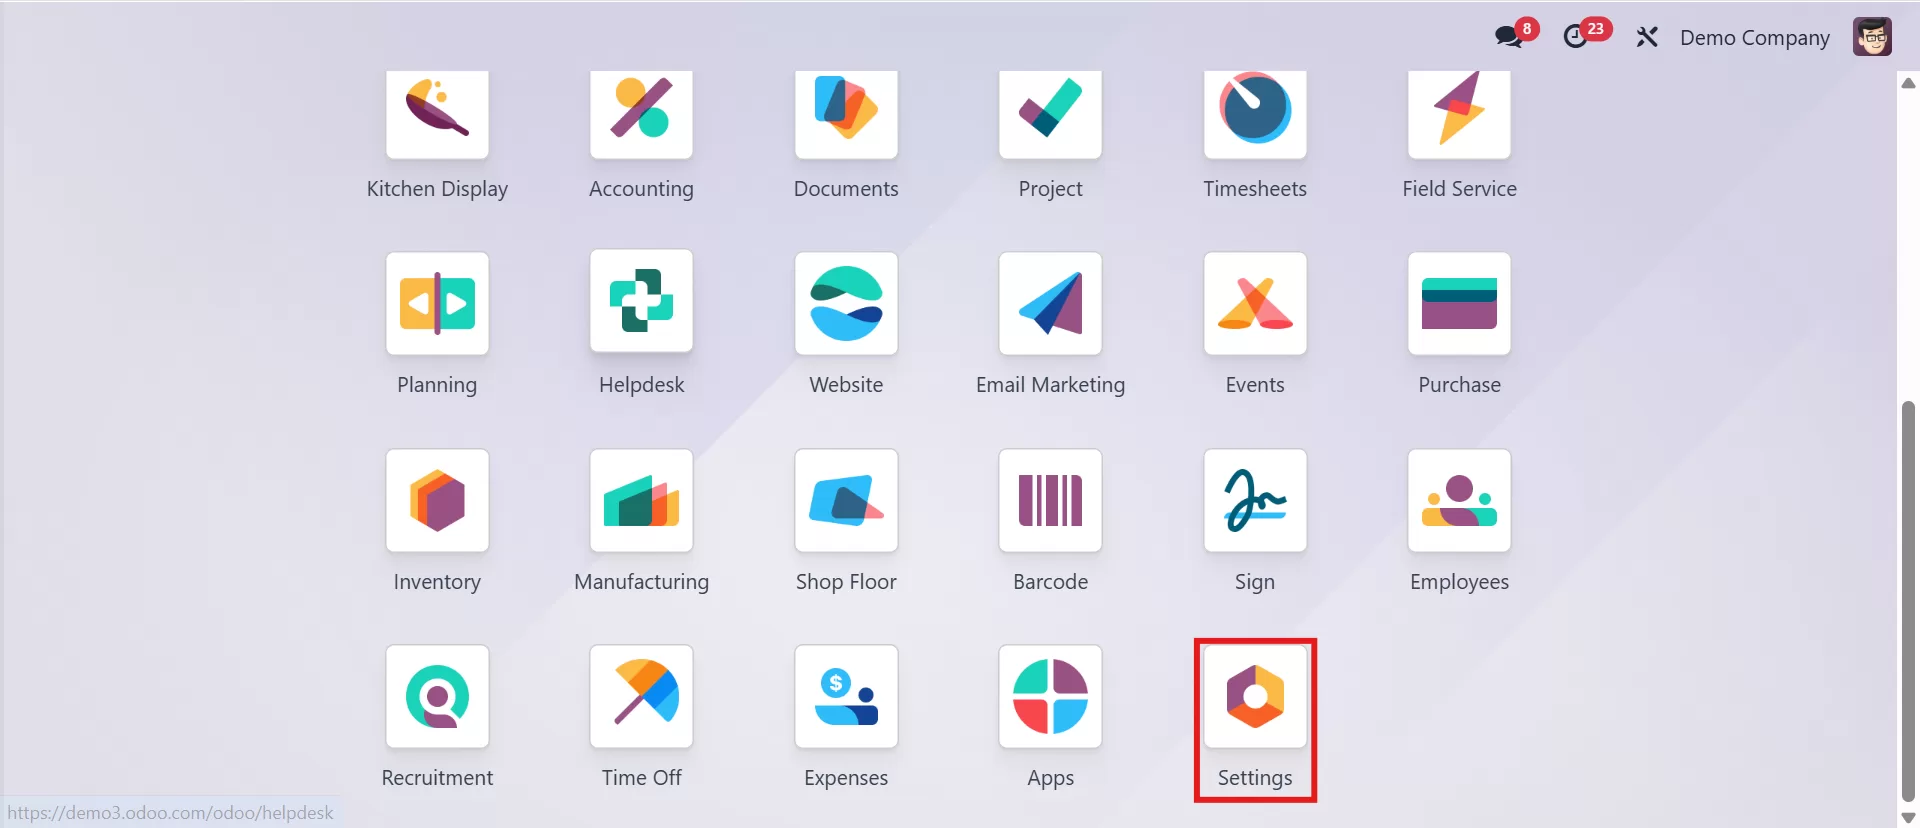
Scroll down until you reach the Developer Tools section, then click on Activate the Developer Mode.
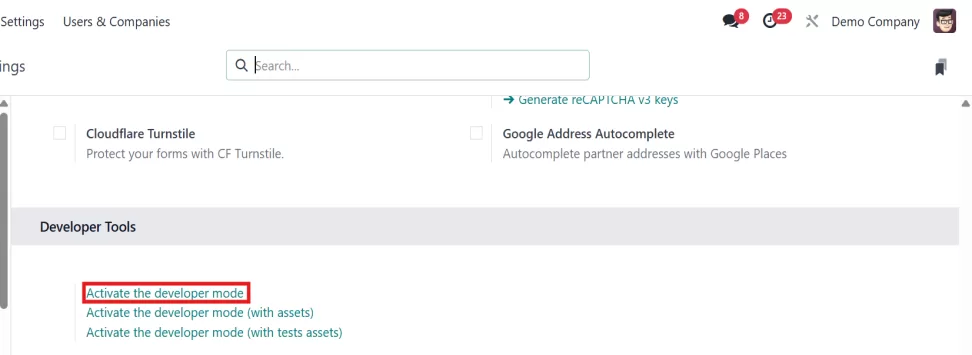
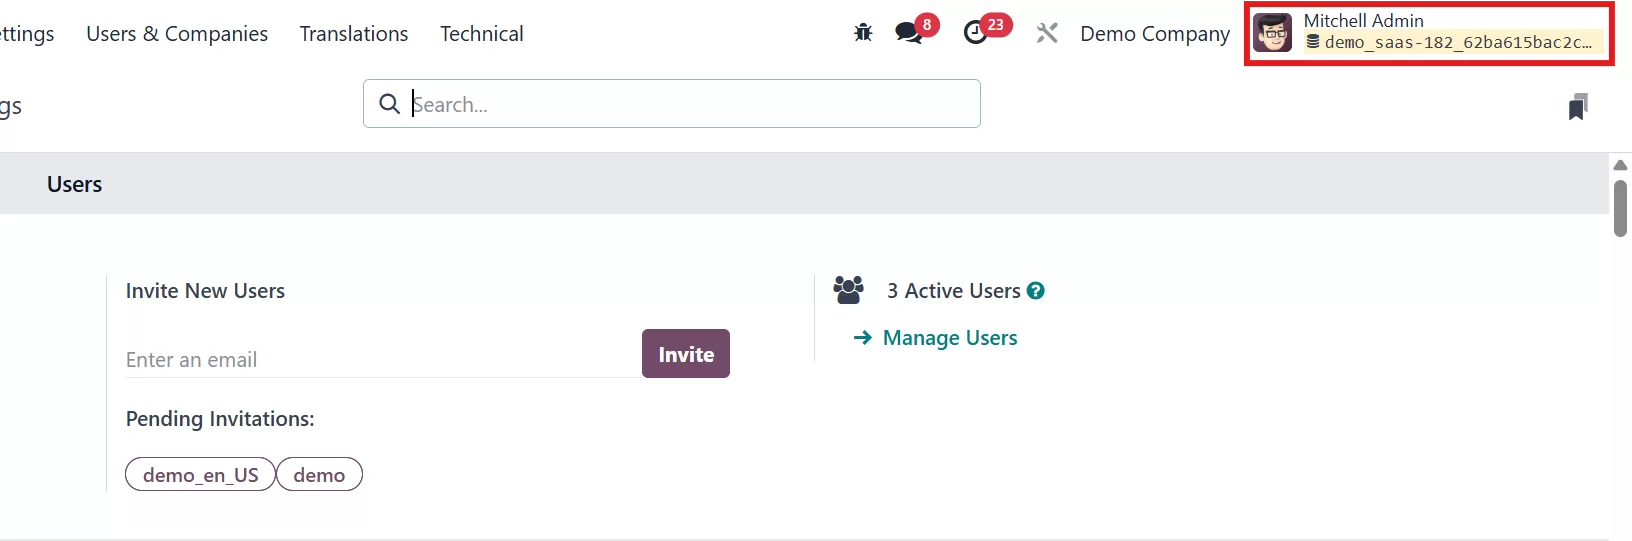
Once developer mode is enabled, your database name will be visible in the top right corner of the screen.
- Note!
- If this cannot be found, speak with your Odoo administrator or refer to Odoo documentation.
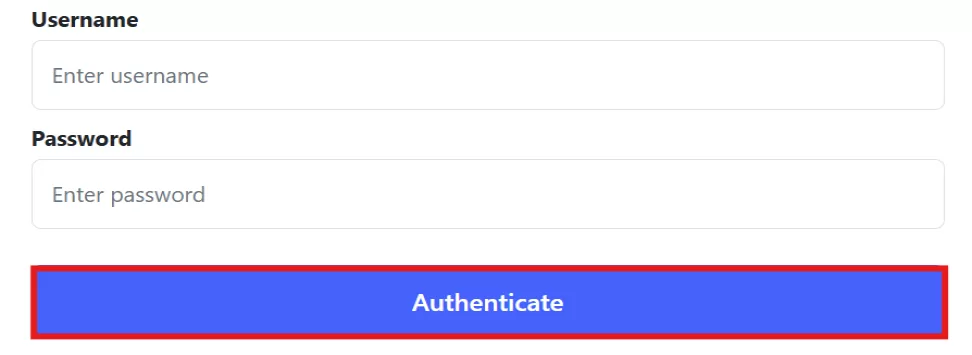
Use your Username or Email Address when signing up for an account.
Simply use your Password if the two-factor authentication (2FA) is not enabled. If 2FA is activated, you can optionally create your Odoo API key—see our “How to Generate Your Odoo API Key” tutorial for more information.
Once you’ve entered all the fields, click on Authenticate button. A success message will be displayed to ensure that the Chrome Extension is now associated with your Odoo account.
Step 2: Save Leads to Your Odoo CRM
Having successfully authenticated the extension, you can now save the leads into your Odoo CRM. It is as easy as following these steps:
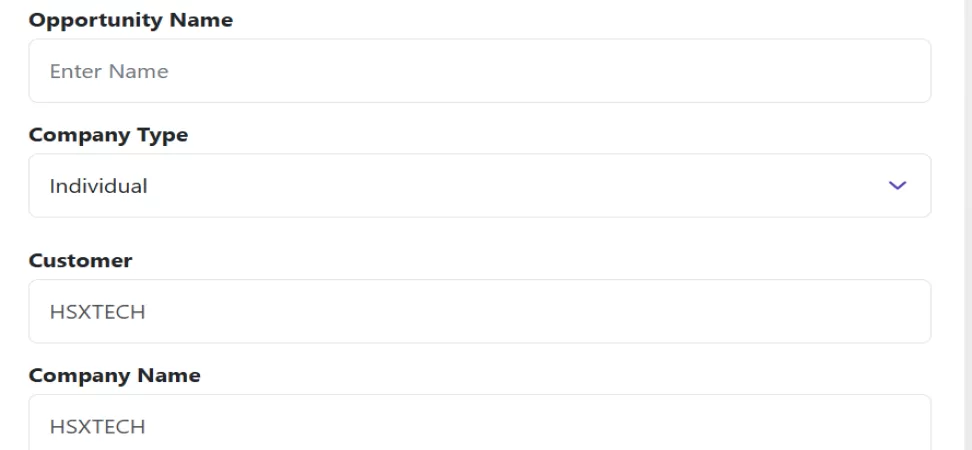
Fill in Lead Details. The extension will ask you to complete a form for every lead that you would like to save.
Enter the lead name or opportunity title. Choose if the lead is an individual or a company. Enter the customer or lead name. If it is a company, enter the company name.
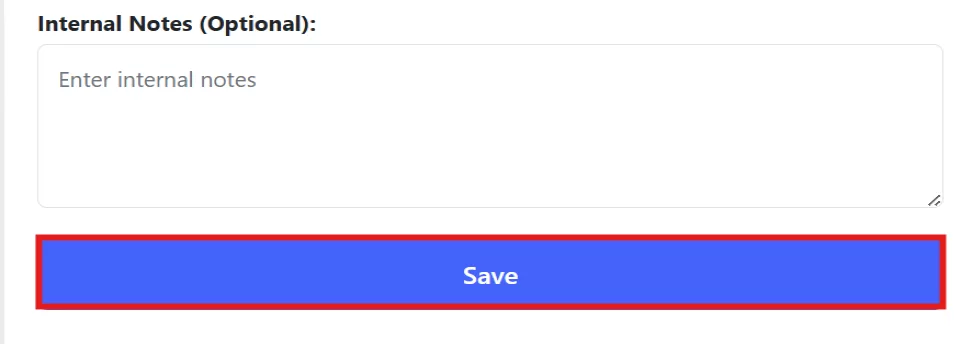
Enter the email address of the customer. Enter the address of the customer. Enter the phone number of the customer. Fill in any further notes or comments regarding the lead, if desired.
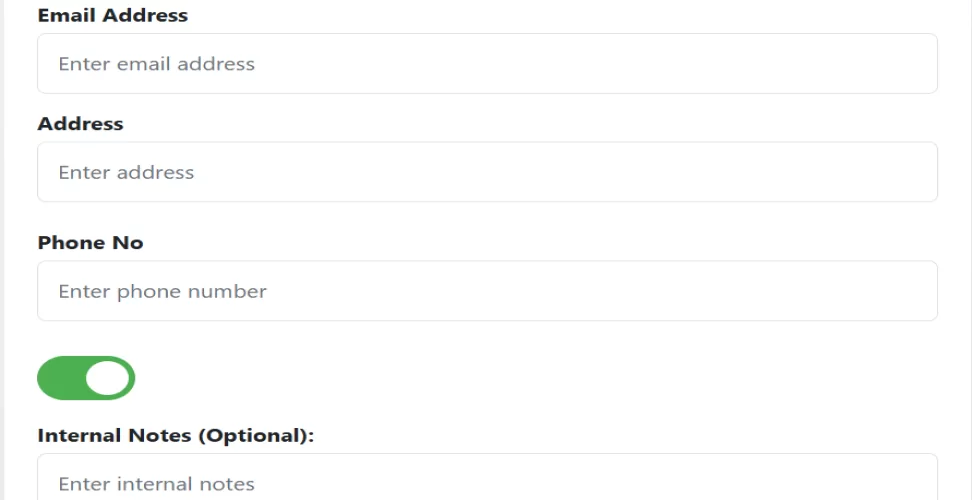
After completing the form, click on the Save button. The lead will be added to your Odoo CRM automatically.
Conclusion:
These two easy steps will enable you to save leads into your Odoo CRM via our Chrome extension. This tool makes manual data entry a thing of the past and has all of your leads securely stored on your Odoo CRM account.
If you have questions or any issues arise, we’re here to help you! Start generating and saving leads to your Odoo CRM today with our Chrome extension!

